1.1. Erstellung eines neuen Kontos und schrittweise Onboarding
Dieses Handbuch beschreibt den einfachen, schrittweisen Prozess zur Aktivierung Ihres Fozzels-Kontos, von der Anmeldung bis zur vollständigen Inhaltserstellung.
2.1. Kontoregistrierung
-
Auf die Plattform zugreifen: Öffnen Sie die Fozzels-Website unter
https://app.fozzels.com/und wählen Sie die Option Registrieren.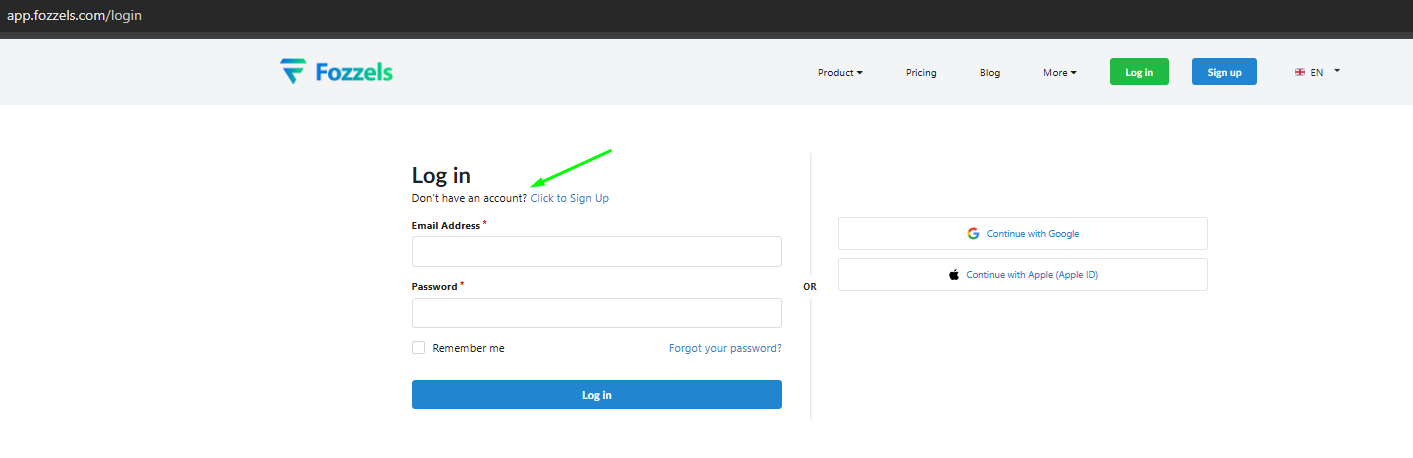
-
Wählen Sie Ihre Methode: Sie können Ihr Konto mit Ihrer E-Mail-Adresse und Ihrem Passwort erstellen (manuelle Registrierung) oder sich sofort über Ihr Google-Konto oder Apple-ID verbinden.
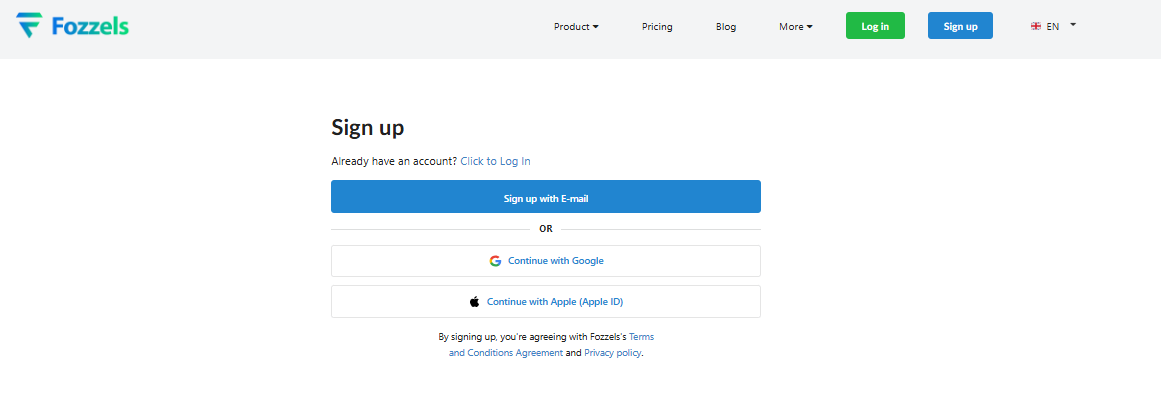
-
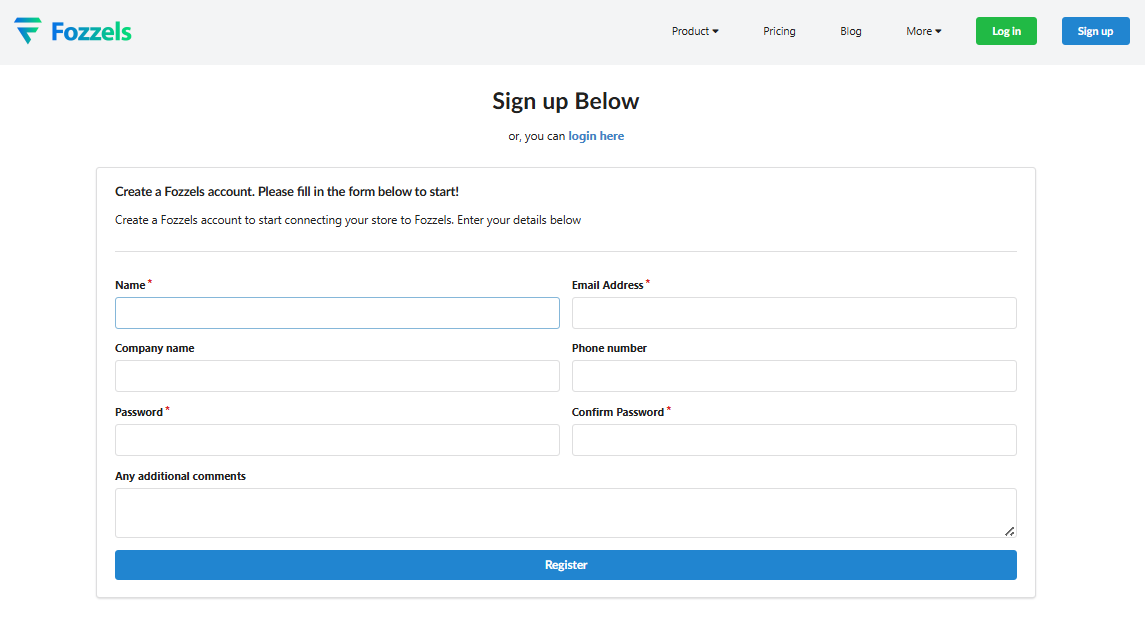
Füllen Sie das Formular aus: Bei der manuellen Registrierung müssen Sie Ihren Namen und Ihre E-Mail-Adresse eingeben. Felder für Unternehmensname, Telefonnummer und „Über das Unternehmen" sind optional.
2.2. E-Mail-Bestätigung
-
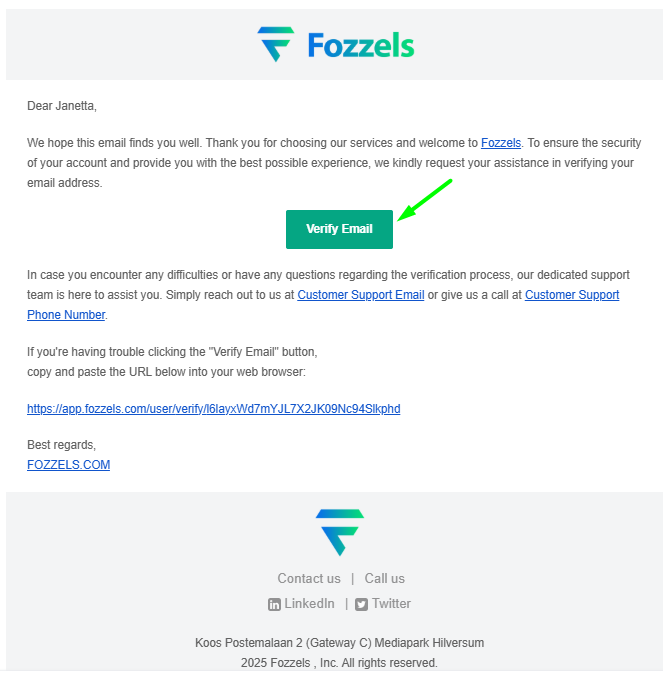
Bestätigung erhalten: Nach Einreichen des Formulars überprüfen Sie Ihren Posteingang auf eine E-Mail mit dem Betreff: „Bestätigen Sie Ihre E-Mail-Adresse – wichtige Kontobestätigung erforderlich". Diese wird vom Fozzels AI Bot bot@app.fozzels.com gesendet.
-
Konto aktivieren: Klicken Sie auf die Schaltfläche E-Mail bestätigen oder auf den bereitgestellten alternativen Link. Diese Aktion aktiviert Ihr Konto sofort und ermöglicht Ihnen die Anmeldung.
2.3. Onboarding-Checkliste: Ihr Weg zur vollständigen Aktivierung
Nach Bestätigung Ihrer E-Mail-Adresse werden Sie zum Willkommensbildschirm weitergeleitet, wo die wichtige 6-teilige Onboarding-Checkliste beginnt. Ihr Konto ist vollständig aktiviert, sobald alle 6 Schritte abgeschlossen sind.
- Willkommensnachricht: Der Bildschirm zeigt an: „Ihre E-Mail-Adresse wurde bestätigt und Ihr Konto wird aktiv, nachdem Sie ein Abonnement gewählt haben".
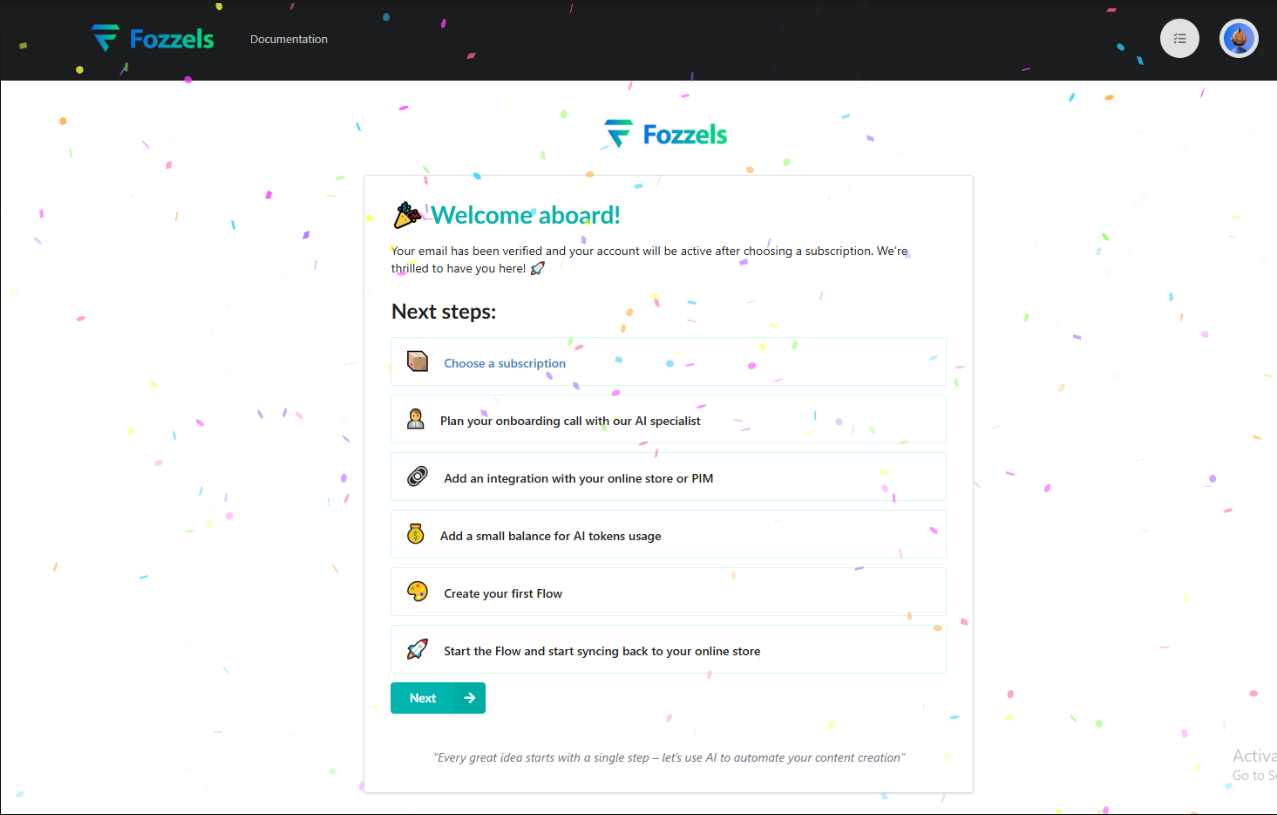 Onboarding-Checkliste
- Wählen Sie ein Abonnement: Wählen Sie den Plan, der am besten Ihren Anforderungen entspricht. Sie werden zu Stripe Checkout weitergeleitet, um Ihren Kauf abzuschließen. Hinweis: Ihr Konto ist ohne ein Abonnement nicht vollständig aktiv.
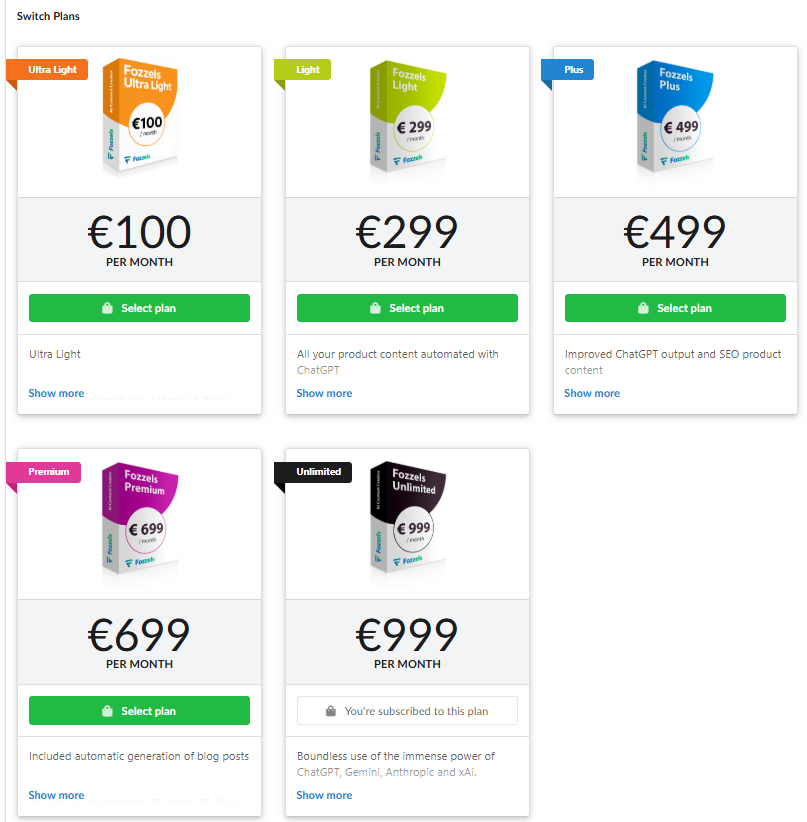
- Detaillierte Informationen zu Plan-Funktionen, Preisen und Limits finden Sie hier.
-
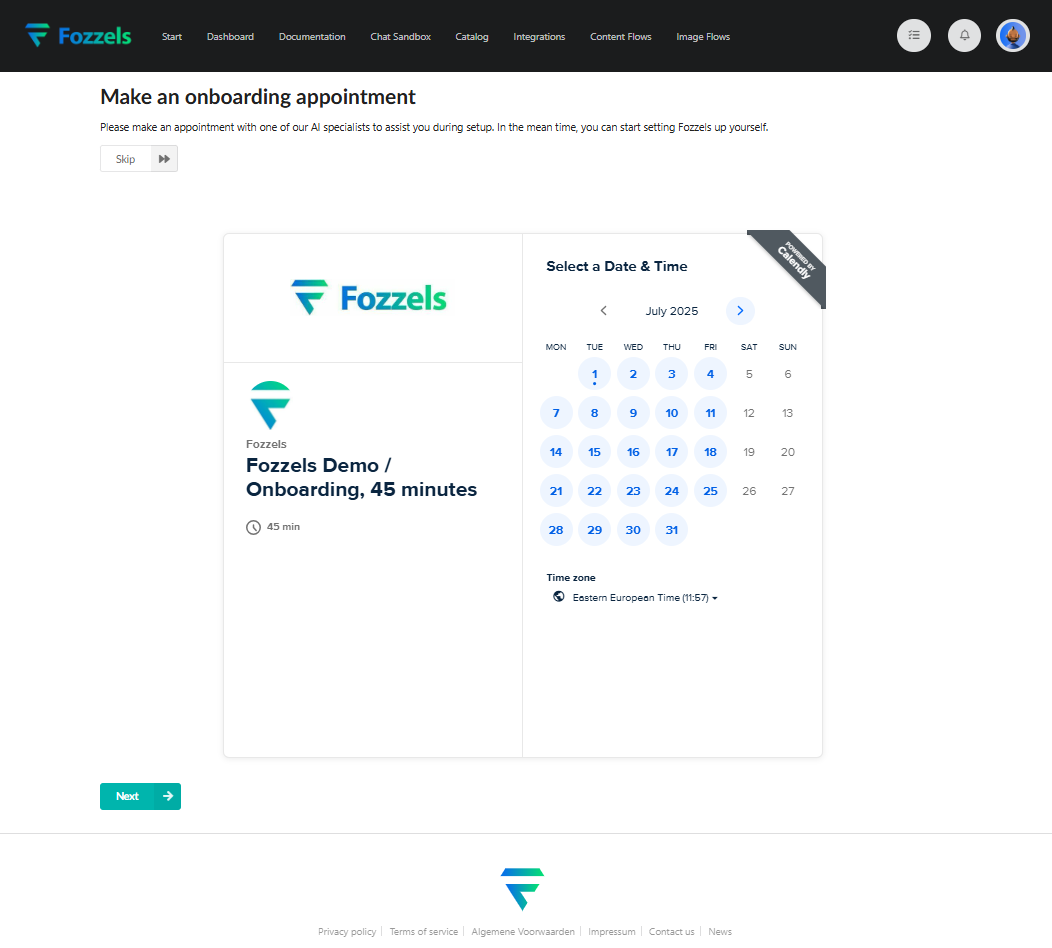
Planen Sie Ihren Onboarding-Anruf: Verwenden Sie das eingebettete Calendly-Widget, um schnell einen Beratungstermin mit einem Fozzels-Spezialisten zu vereinbaren.
-
Fügen Sie eine Integration hinzu: Verbinden Sie Ihren Online-Shop oder Ihr PIM-System. Dies ist erforderlich, um die von Fozzels generierten Inhalte automatisch zu synchronisieren.
- Schritt-für-Schritt-Anleitungen zum Verbinden Ihres Shops oder PIM finden Sie hier.
- Fügen Sie einen kleinen Kontostand für die Nutzung von KI-Tokens hinzu: Navigieren Sie zu den Zahlungseinstellungen und klicken Sie auf die Schaltfläche „Jetzt aufladen", um Ihr Konto aufzuladen. Hinweis: Ein positives Guthaben ist erforderlich, um Inhalte zu generieren, da die Token-Nutzung basierend auf Ihrem Plan und dem ausgewählten KI-Modell abgerechnet wird.
- Weitere Informationen zur Verwaltung Ihres Guthabens, Zahlungsmethoden und Auto-Top-Up-Einstellungen finden Sie hier.
- Erstellen Sie Ihren ersten Flow: Entwerfen Sie Ihr Content-Generierungsszenario (Flow). Sie können von einer Vorlage beginnen oder es vollständig anpassen (Sprache, Ton, Struktur usw.).
- Eine vollständige Anleitung zum Erstellen, Konfigurieren und Testen Ihres ersten Content-Flows finden Sie hier.
- Starten Sie den Flow und beginnen Sie, wieder in Ihren Online-Shop zu synchronisieren: Starten Sie Ihren Flow. Nach dem Start und bei aktiver Integration werden die generierten Texte automatisch mit Ihrem Shop oder PIM synchronisiert.